
Hiya friends! Lauren here! In real life I have the amazing privilege of being friends with a Get Messy community member, Karen H! We actually work together and I’m pretty sure Karen is my spirit animal. So when she said she had a tutorial she wanted to share I was beyond myself with joy! I went to Karen’s house one afternoon and we worked on our journals together and she showed me her paper splicing tutorial and I photographed her working. Oh yeah, and there were milkshakes. Pretty much it was a magical afternoon. Below is Karen’s paper splicing tutorial with photos of both of our pages as they came together. Enjoy!
Supplies:
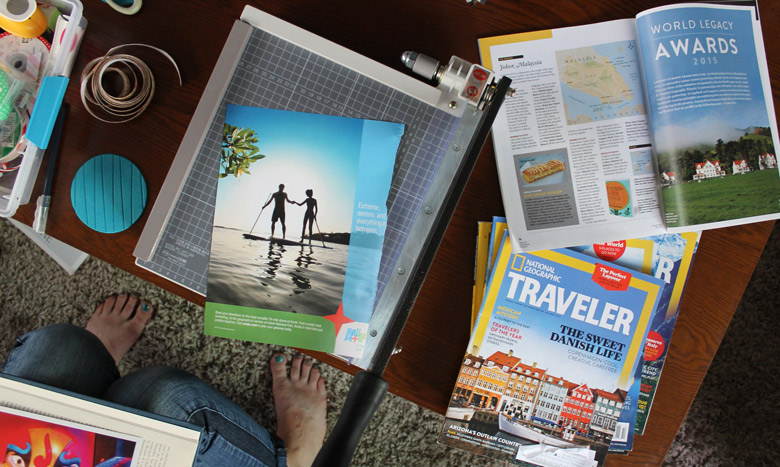
- Magazines or photos
- Paper cutter/scissors
- Adhesive
- Optional: colored cardstock
Process
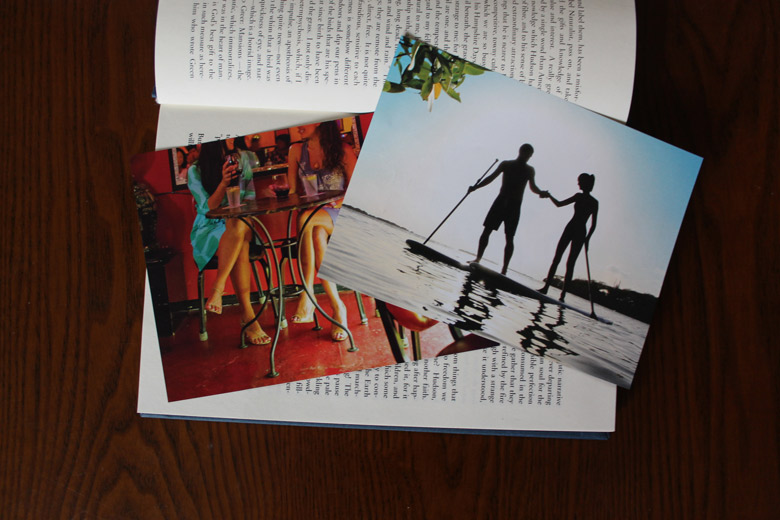
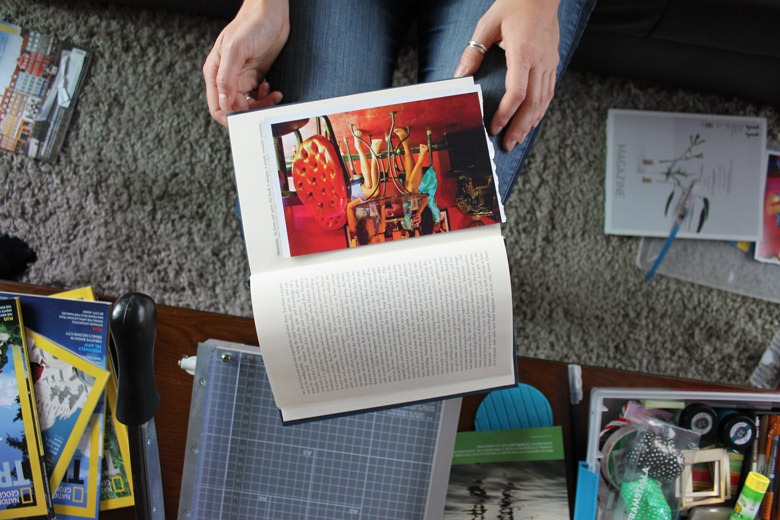
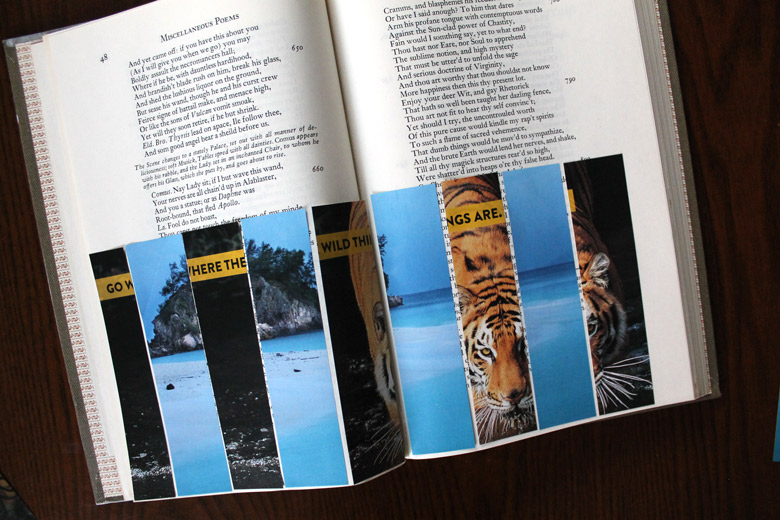
First, choose your images. Try to choose two images that are contrasting. They can be related or unrelated. You can also just use plain colored paper if your image doesn’t contrast well. Below are my images I chose and as I was working I realized they did not contrast well enough and I had to change one of them.
Then cut your images down to the exact same size.
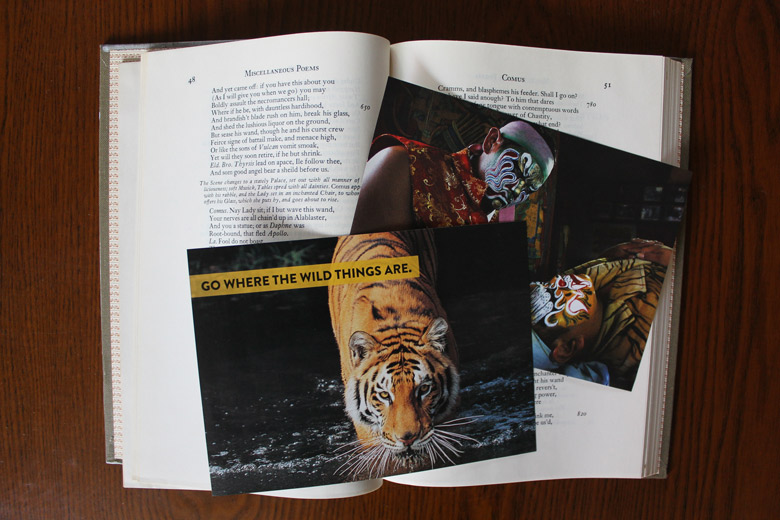
Make sure your images fit onto your page and then play around with placement to get an idea of how you need to splice the photos.
The best way to cut your images is at the same time so the strips are the same sizes, unless you purposefully want them to be uneven.
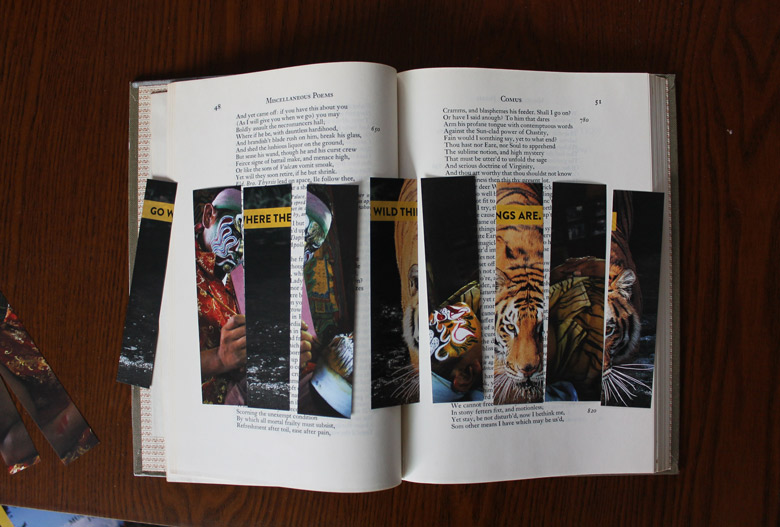
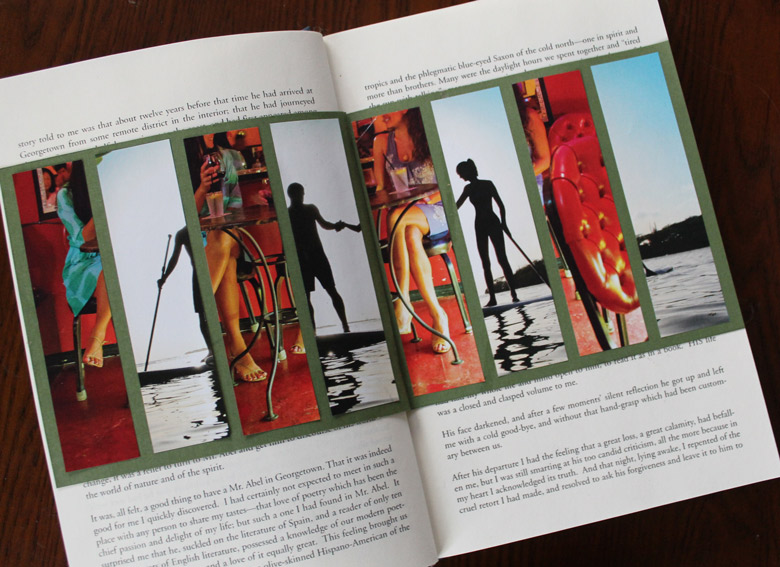
Now, begin playing with the placement of your strips. Decide if they will go only on one page or span both pages and see how much spacing you like between each image. You may need to choose a few strips to leave out or trim down.
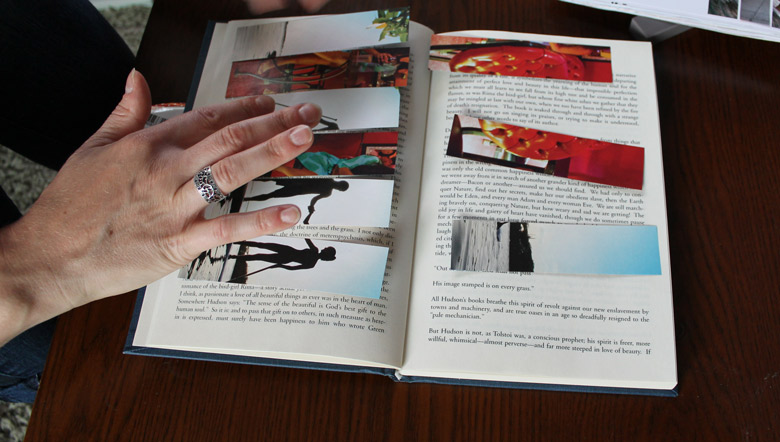
You can adhere your strips right into your book or if the background of the page is too distracting, add a colored page behind it like Karen did.
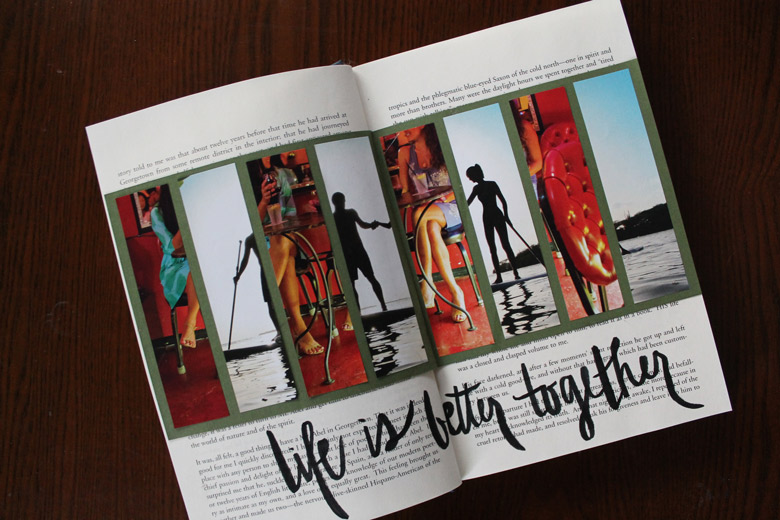
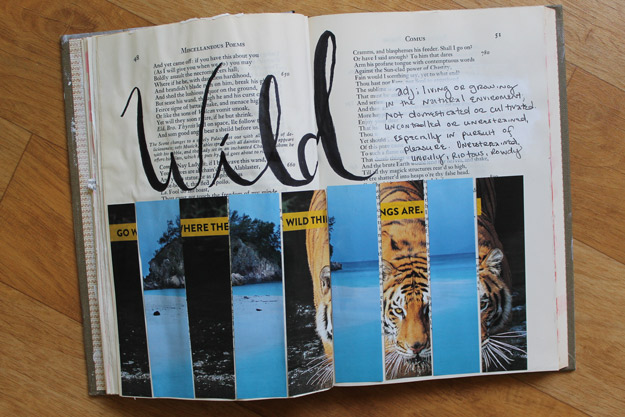
Next comes your words. You can choose a quote or a title or sentiment to describe your images. Or script one simple word that is evoked through your image pairing and define that word.
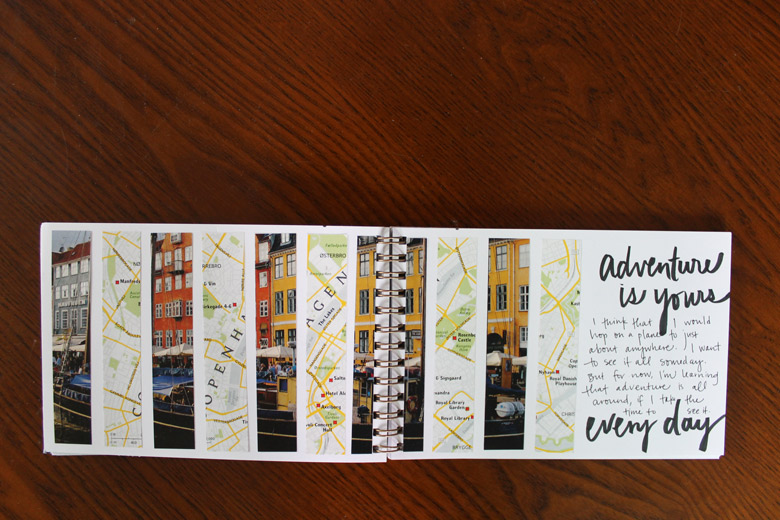
Karen’s final page:
Lauren’s final page:
Thank you so much for such a fun and simple tutorial, Karen! We can’t wait to see your paper splicing pages in your books!