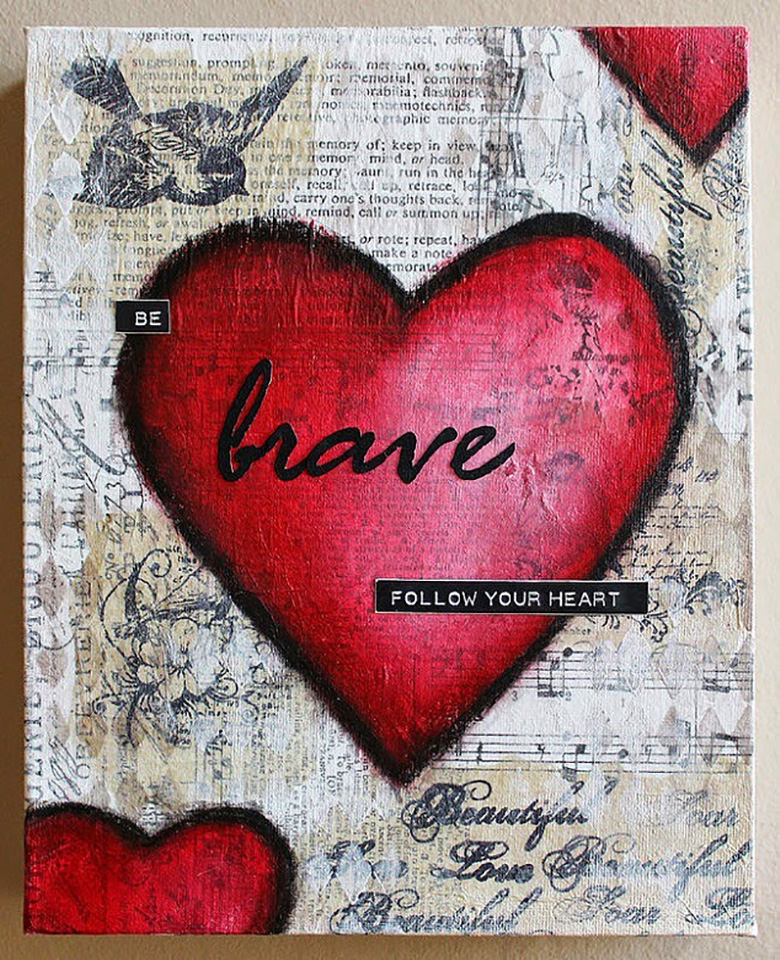
Hello Get Messy Peeps! Cassandra here. Today I am sharing a mixed media piece in the hopes of inspiring you to be brave with gel, gesso and gelatos. This one is a simpler version of a double page spread that I had previously made which was inspired by a Get Messy prompt from last season.
To get started on the background, you will need:
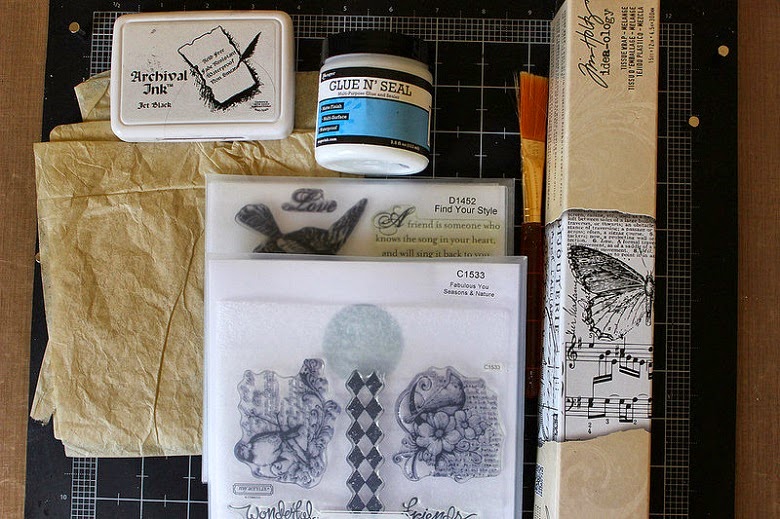
- matte gel or decoupage glue
- pre- printed tissue paper and/or create your own with stamps
- clear and white gesso
Process
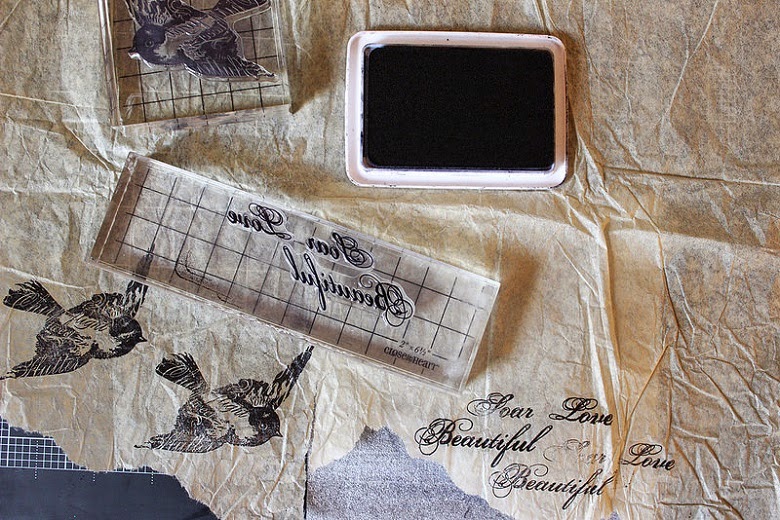
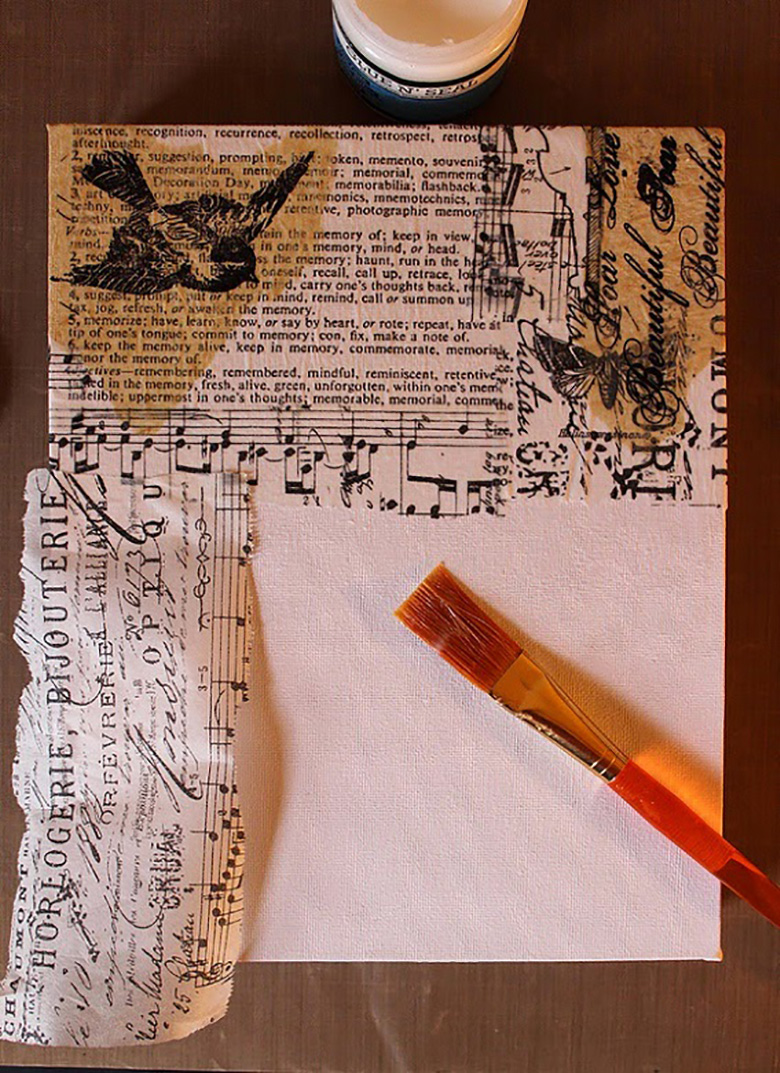
1. Stamp desired image(s) on upcycled beige tissue paper. Do not fret if the image is not perfect as it will not matter in the next step.
Stamped ink will go through the tissue so be sure to protect your surface below the tissue. You will note that I stamp more that I use so that I have extra pre-prepped pieces for other future projects
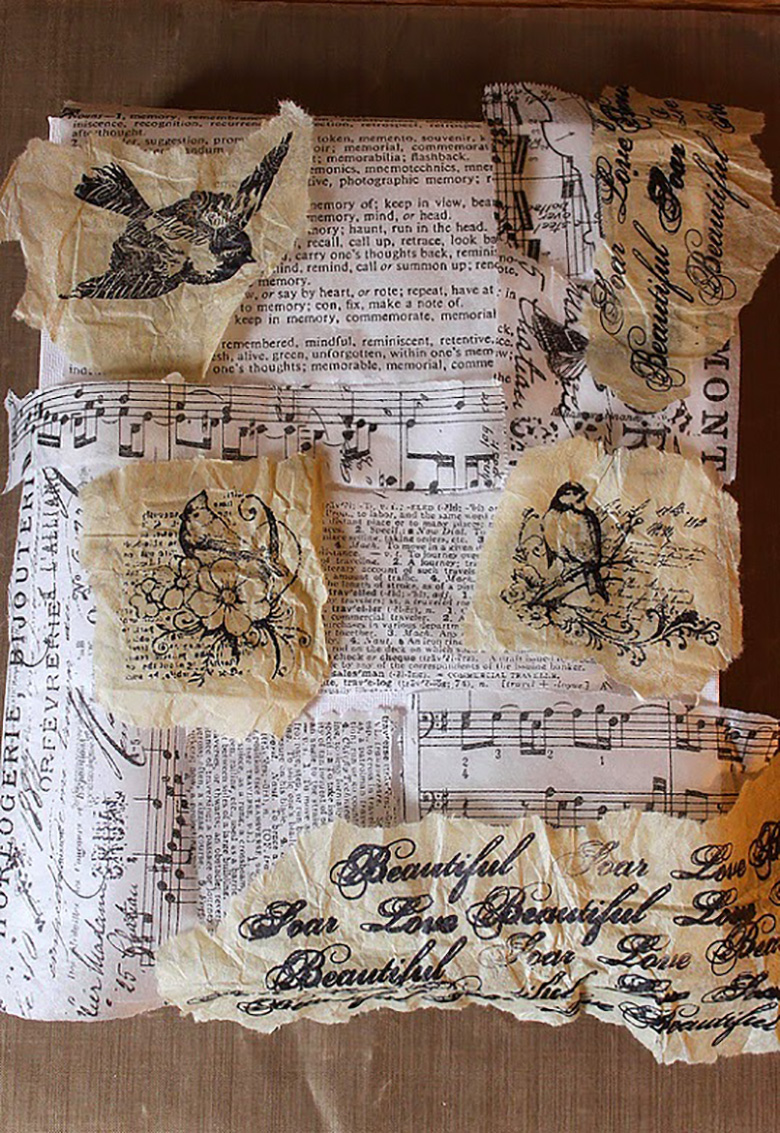
2. Tear pieces of tissue and arrange on your page. Once pleased with an arrangement adhere with matte gel or decoupage and be sure to go over the top of the tissue also to seal it down. Work gently with a light hand as the tissue is a bit fragile.
Gel comes in a variety of finishes (matte, semi-gloss, and gloss) and can be used for a variety of purposes and techniques. Here I use it as an adhesive and sealant.
If you are not a stamper, not to worry as you can collage the background with other methods/items such as pre-printed tissue, use an image transfer technique (like Jeannie shared), patterned paper (just know that patterned paper will be thicker with border lines), paints, or washi tape, etc.
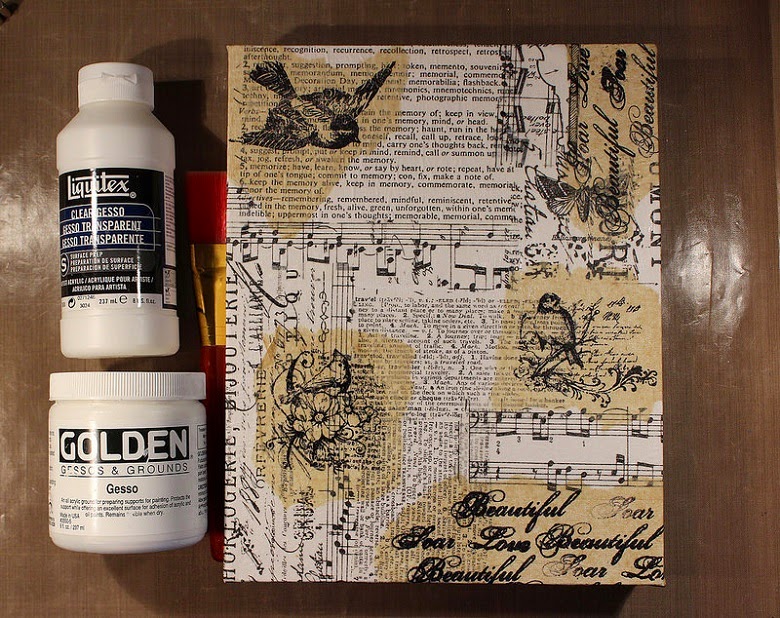
3. Once the collage is dry, add a light coat of clear gesso. It is very runny and goes on opaque with a sandy grit texture. By using the clear gesso, you can see the whole background surface clearly once it has dried.
Gesso comes in clear, white and black, and it comes in a variety of the consistencies depending upon the manufacturer. It can be used as a ground surface prep, a base adhesive, and in a manner similar to an acrylic paint. In this case, the gesso is needed as a ground to work on with the gelatos in a later step.
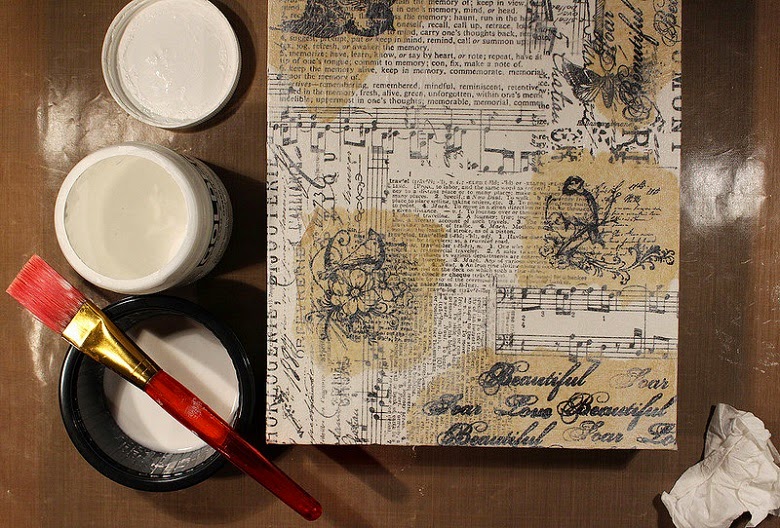
4. If desired, add some white gesso. The thickness of the white determines how far back into the background layer the image will appear. I watered down the gesso so that it had a transparent quality.
Here for learning purposes, I demonstrate with a thicker coat so you can see how it can push the image into the background.
Keep a wet paper towel or baby wipes handy as it does wonders for removing gesso which is what I did to get my page back to the level of transparency that I wanted it.
For this layer you will need:
- a pencil
- a stencil or stamp
- ink
- gesso
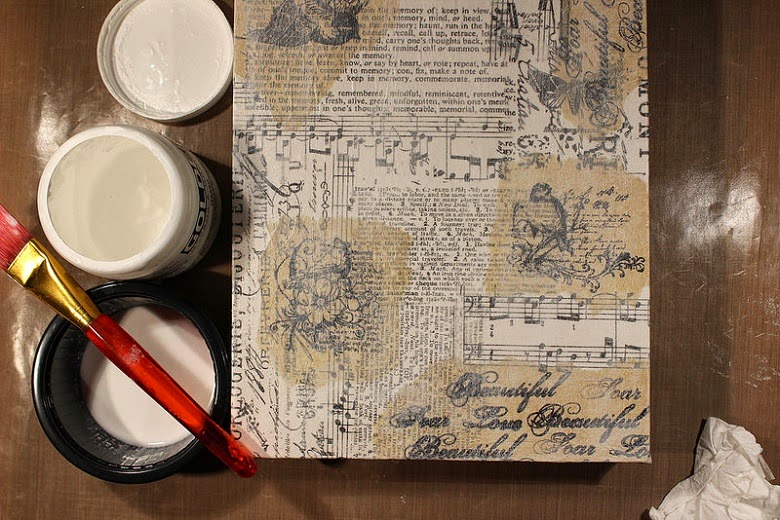
5. Draw desired image with a pencil.
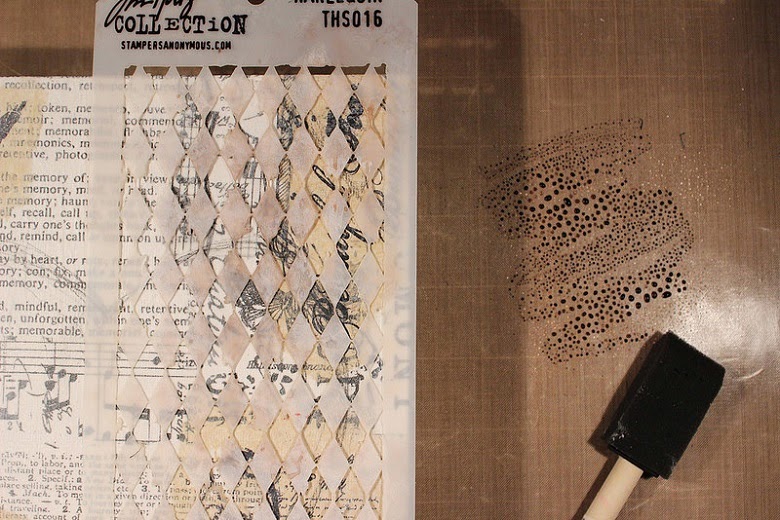
6. Stencil the background in several spots drawing attention to the centre image focal point. Here I use a Stamper’s Big Brush on a craft mat with a spritz of water as it becomes transparent and permanent once dry. You can wipe off any unwanted sections or lighten too dark sections with a baby wipe. Repeat with diluted white gesso.
Keep a pan or small bucket of water handy to drop your stencil(s) into it for easier cleanup while the medium is still wet on the stencil. This quick removal of different mediums like ink and gesso prolong the life and uses of your stencils.
Step #6, the mid level layer, could be complete either now as indicated or after sealing the top coloured image in a later step. Based on the media used, there is no rule as to the order, for it is solely a personal preference choice.
For the next layer you will need:
- gelatos (Cherry, Coconut, Chocolate, Black Licorice ) or other colouring medium such as watercolour crayons, etc.
- baby wipes or water
Faber-Castell Gelatos are creamy, super easy to use and water-based. By prepping the surface with gesso, it allows you to blend and move the gelatos around. Again the use of a baby wipe or moist paper towel is indispensable in removing excess or errant gelato colour.
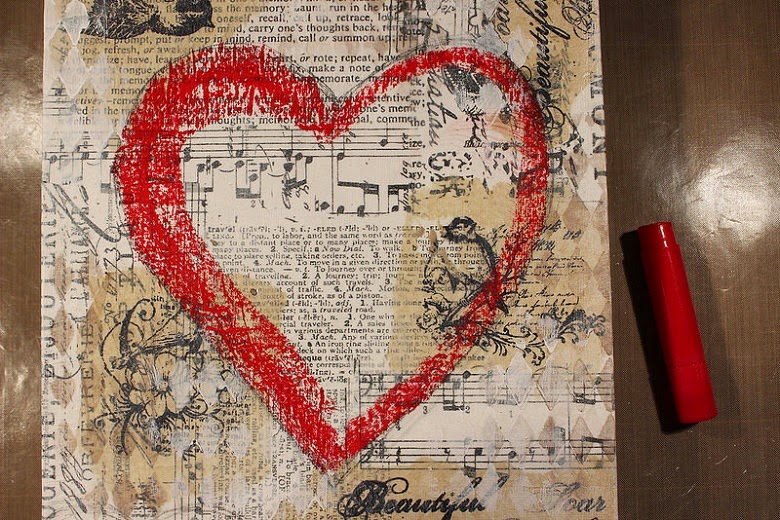
7. Using red, draw a heart with a thicker side.
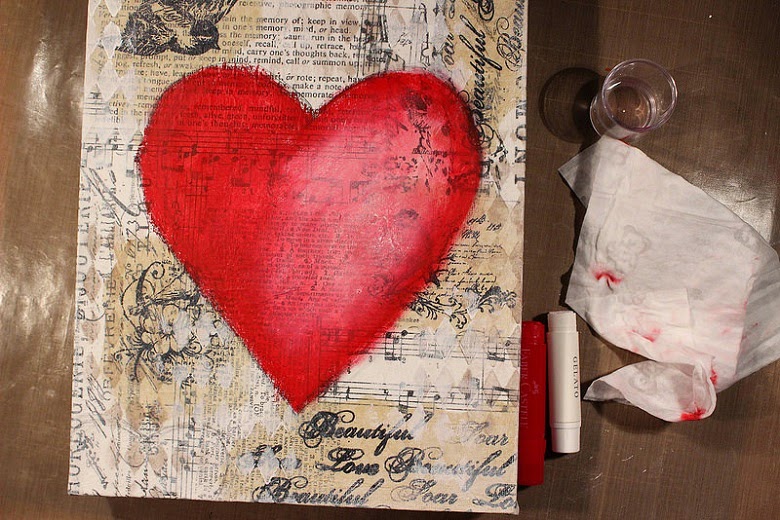
Blend with your finger. Pressing your finger onto a moist towel or baby wipe in between to help the ease of blending. Add more red as needed and continue blending. Add in white and blend to give a highlight effect.
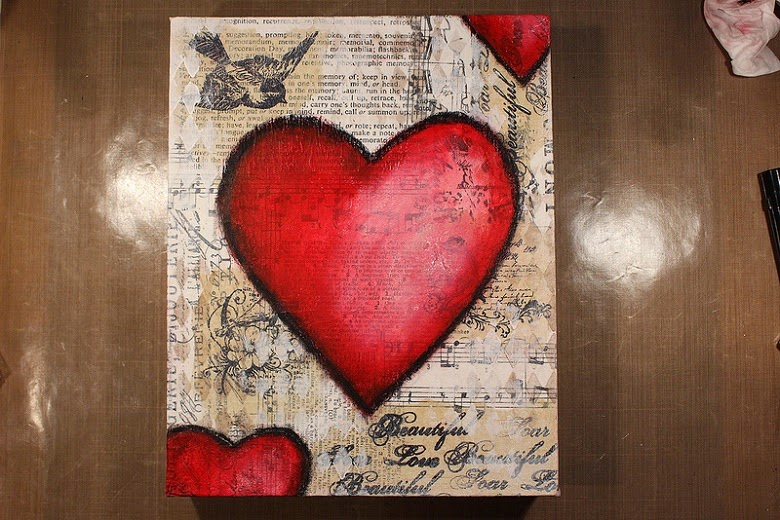
Add in chocolate along the shade side and continue blending. Outline the heart using the black gelato and using the smallest digit, smear it slightly by dragging finger along the outline.
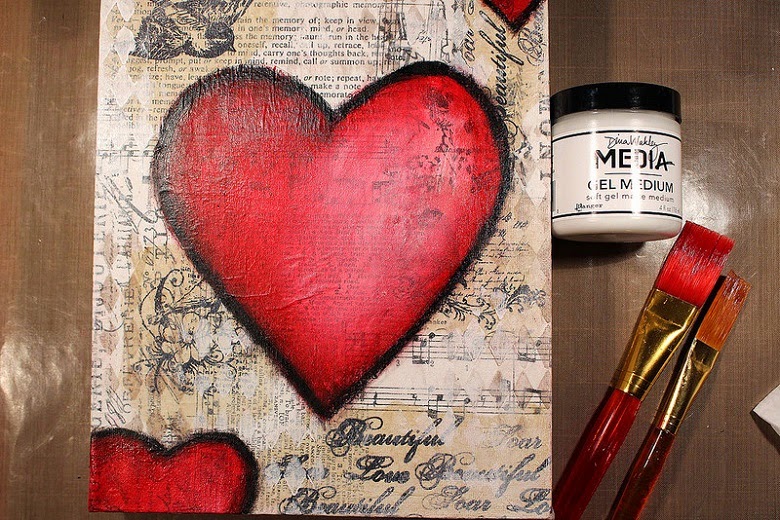
8. Using a gel medium, apply it with a brush to seal the page. This is a tad tricky as gelatos are water-based and can potentially smudge. I started by applying the gel to the hearts and wiped the brush ends off with each stroke as to not spread the black. Once the hearts are covered, apply the gel medium to the rest of the piece.
To combat warping pages, apply gesso or gel medium to the back of your page. Once dry, reshape any area that did not naturally drop back into a neutral and then place under a heavy large object.
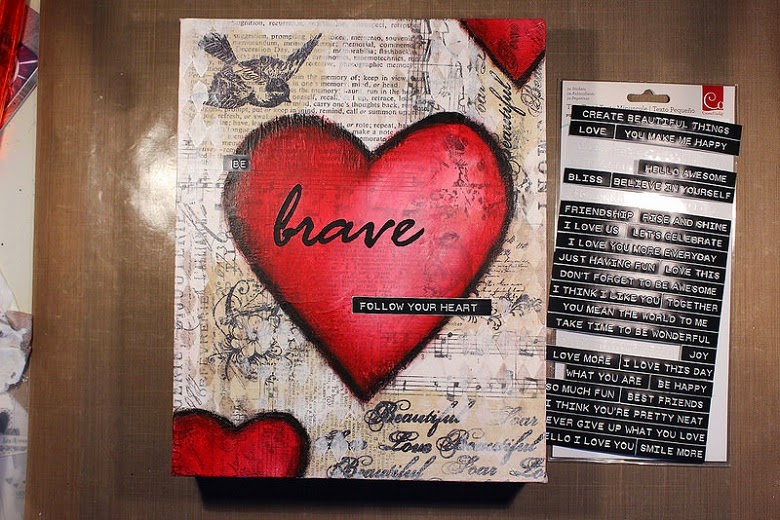
9. Adhere your desired title/quote/phrase and you are all done.
I would love to see how this tutorial inspired you to create. Be sure to share a link to your page in the comments section.
—
Cassandra is an art journaler, scrapbooker, card maker and a mixed media artist. You can see more of her work on her blog Scrap Savvy Creations or on Instagram.