
lesson plan
Basic Bookbinding > Bonus Lesson
If this is your first foray into bookbinding and you are curious about what we’ll be doing in the Basic Bookbinding class, this free lesson will give you a good taste of bookbinding and will let you experience the freedom and creativity you have when you create your own journals. Vanessa, the course teacher, has chosen a simple beginners stitch for you that will allow you to start creating your own books, quickly, simply and right away. Once you have experienced the pride and the excitement from creating your own book, unique to your personal specifications and needs, we know that you will be dying to step up your game and learn more diverse stitches to continue to vary your handmade books to meet different needs each of your creative projects has.
About the stitch
For this first, teaser lesson, we will be learning the three hole pamphlet stitch. This is the easiest way to bind leftover paper scraps into a great little booklet that is incredible versatile. So grab some of those scrap papers you just can’t throw away and let’s make the perfect notebook to hold all your thoughts, ideas and art.
Tutorial
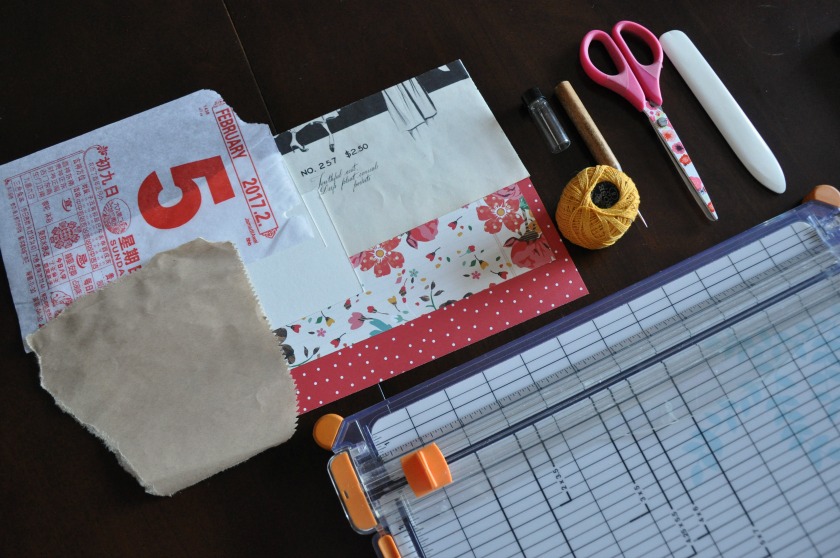
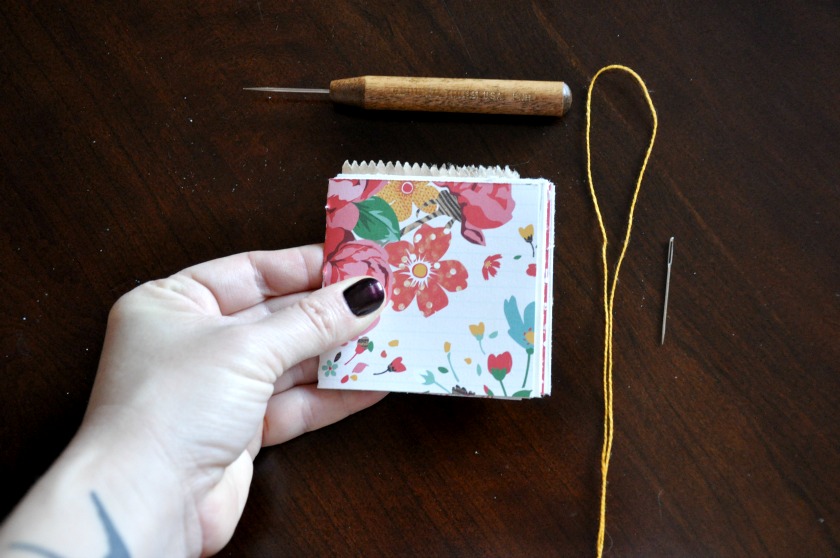
We will cover each to of these tools more in depth in the class, but here you see the basic toolkit you will need to bind your own books. These include:
Supplies
- trimmer
- paper scraps (I just used the leftover paper scraps for the other books I have bound)
- scissors
- thread (I’m using embroidery thread for this one)
- bookbinding needle (or embroidery one – the eye needs to be big enough for your thread)
- awl (or “stabby thing”)
- a bone folder (or spoon)
Process
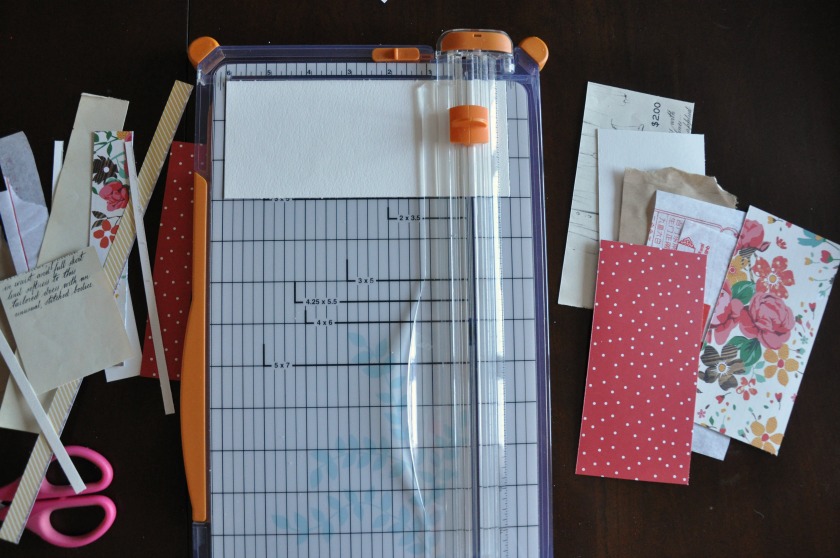
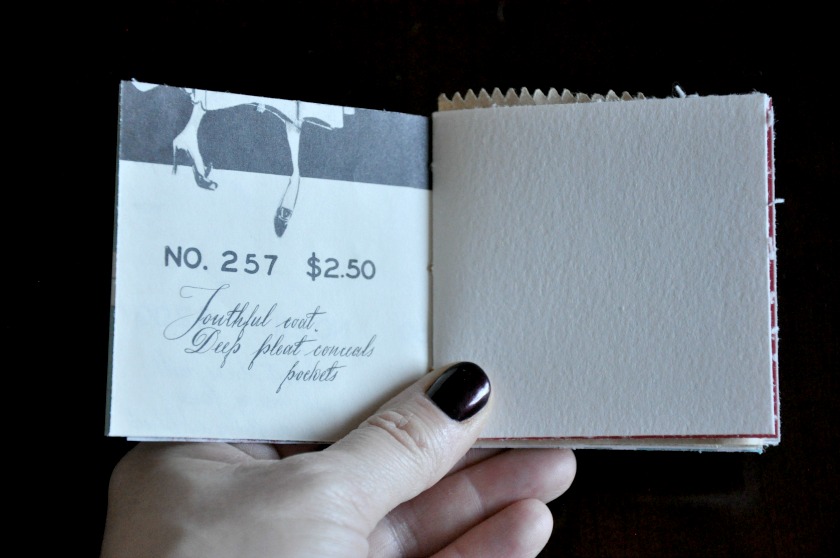
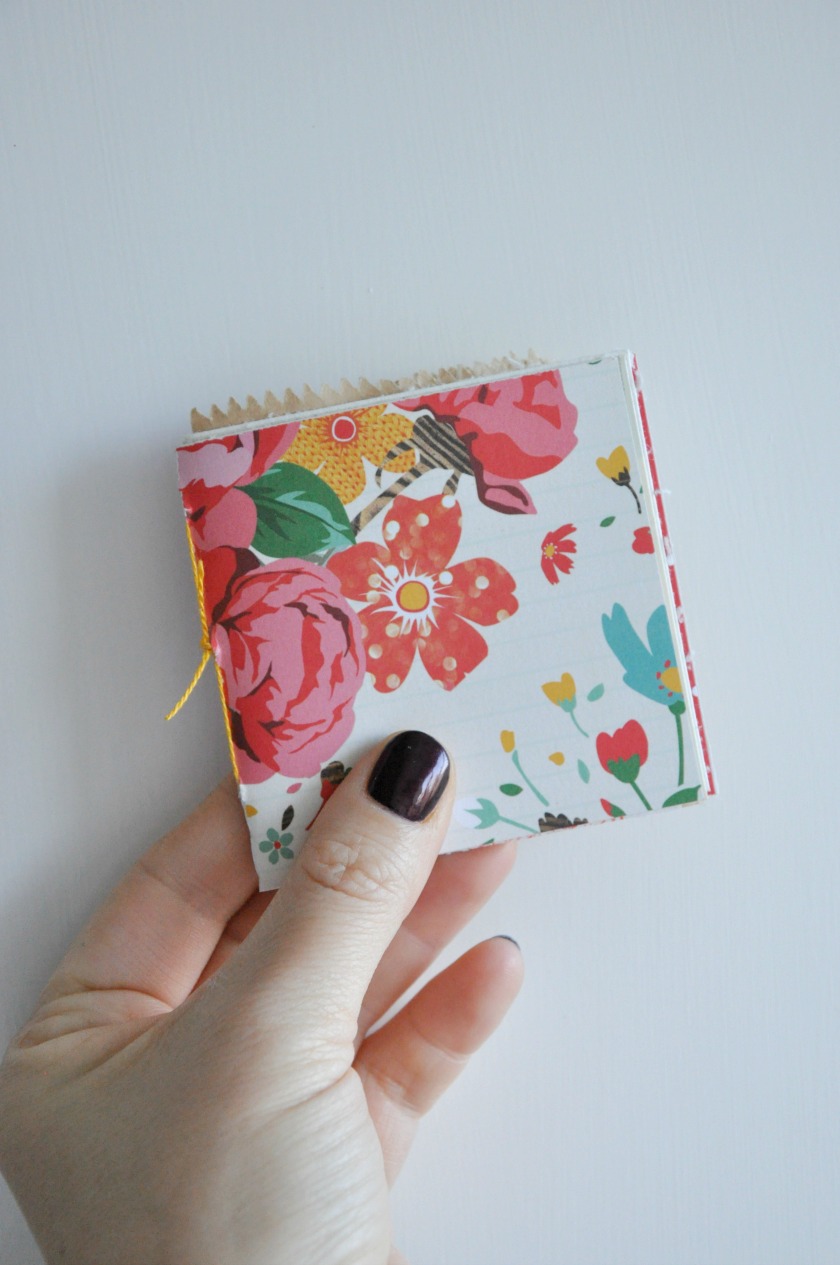
The first step is to trim your papers so they are the same size. In my case, I trimmed the papers so that my booklet would be 3 x 3 inches. So each paper is 6 x 3 inches. I used eight pieces of paper with different thicknesses (like vellum, watercolor and scrapbooking paper).
Once your papers have been trimmed, fold them in half, using the bone folder to make sure the crease is nice and flat.
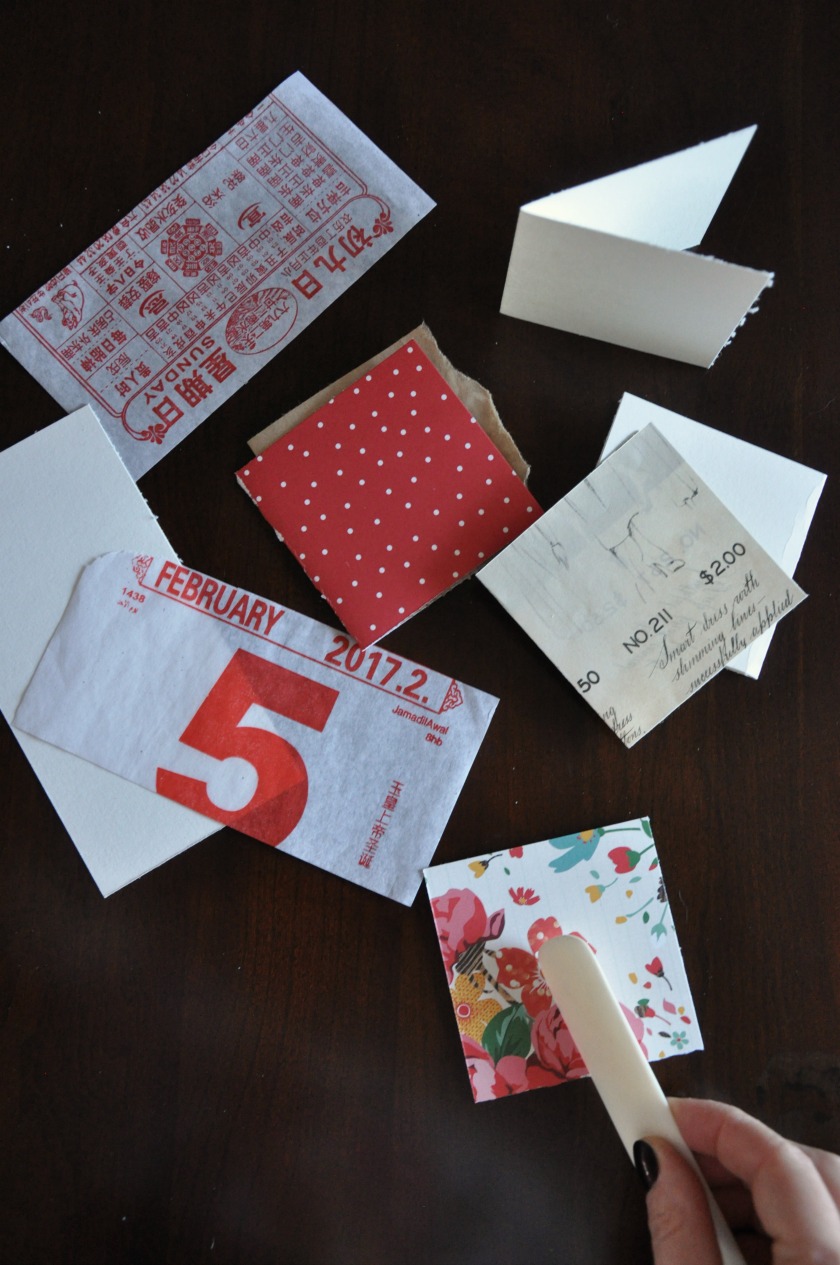
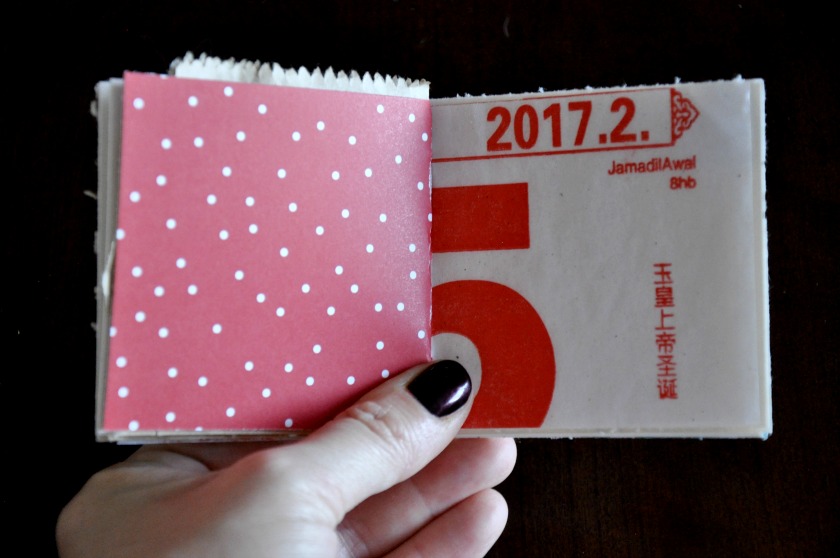
Assemble your booklet. Pay attention to the patterns that will be facing each other and choose a cover. This is my favorite part!

Now we have to punch holes through the papers. Using your awl, make a hole in the middle crease of the center piece of paper. You can measure this out, if you like perfection and symmetry, but I just eyeball it.
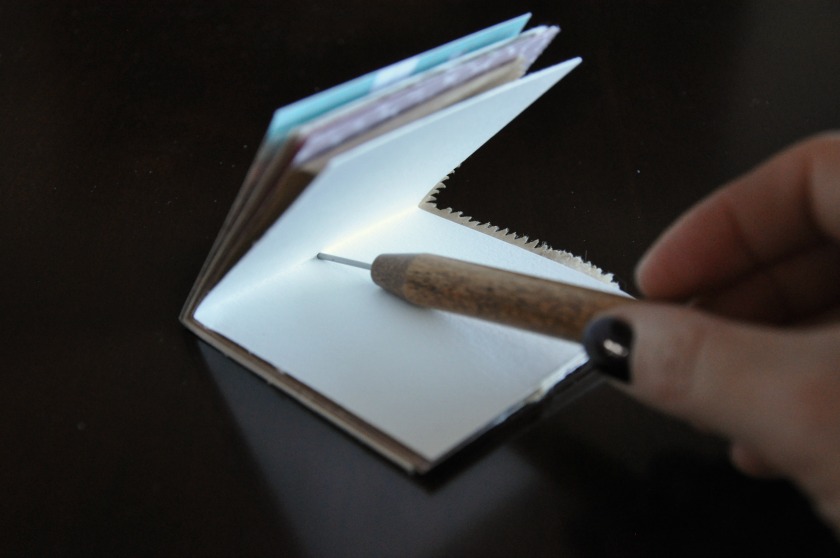
Now punch a hole on either side of that middle one.

Measure out your thread so it is about twice the height of your booklet.
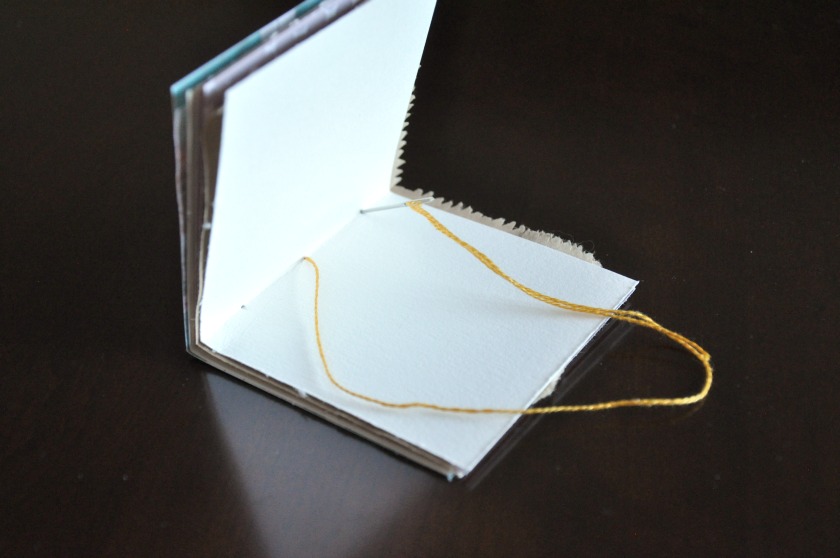
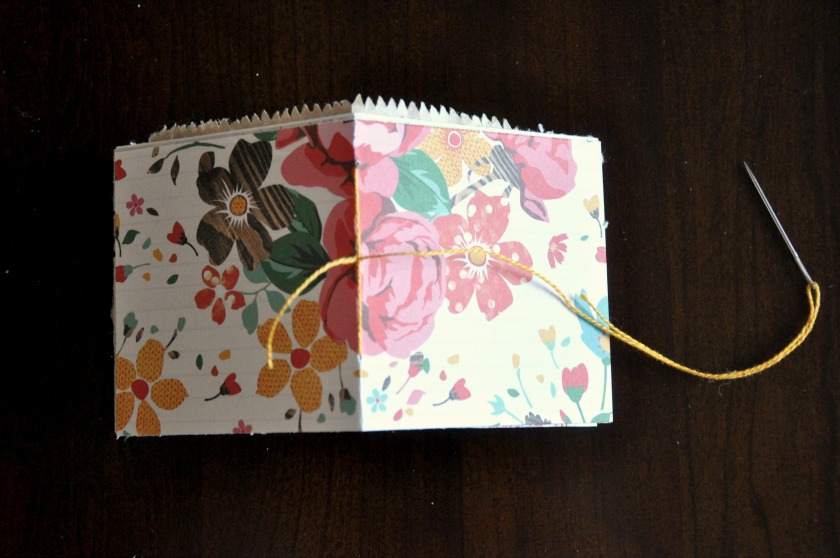
Go through the middle hole from the outside of the book toward the inside.
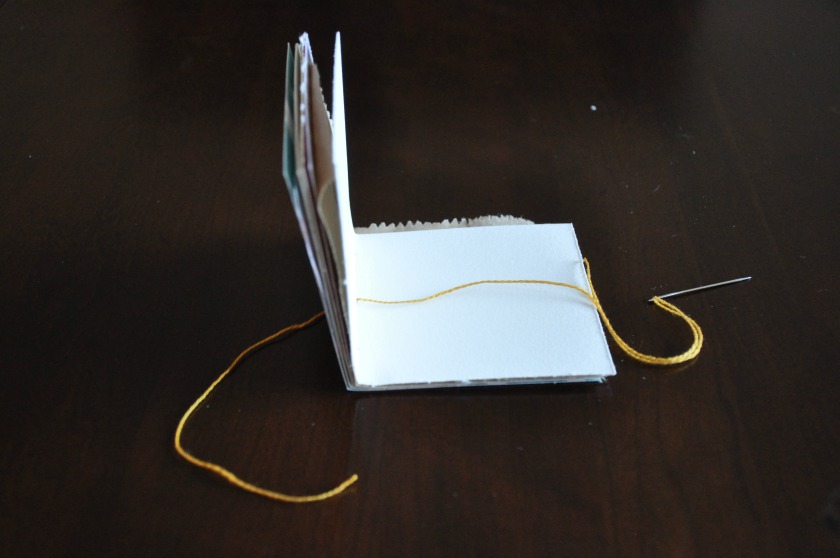
Pull tight, leaving a long tail of thread sticking out of the outside of the middle hole.
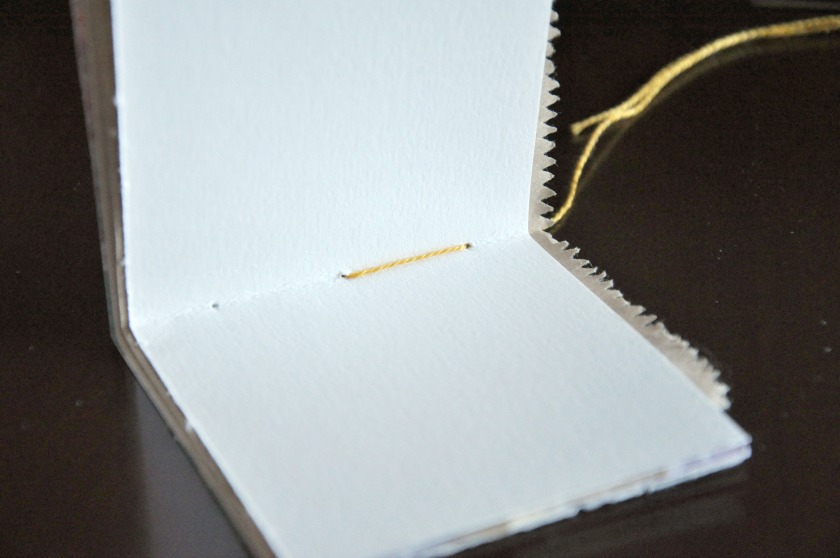
From the inside of your book, go into the top hole.
Pull tight, holding on to the tail of your thread so you don’t pull it out. SUCCESS! You’ve made your first stitch!
You are now on the outside of your booklet. Put your needle through the bottom hole, skipping the middle one where you started.
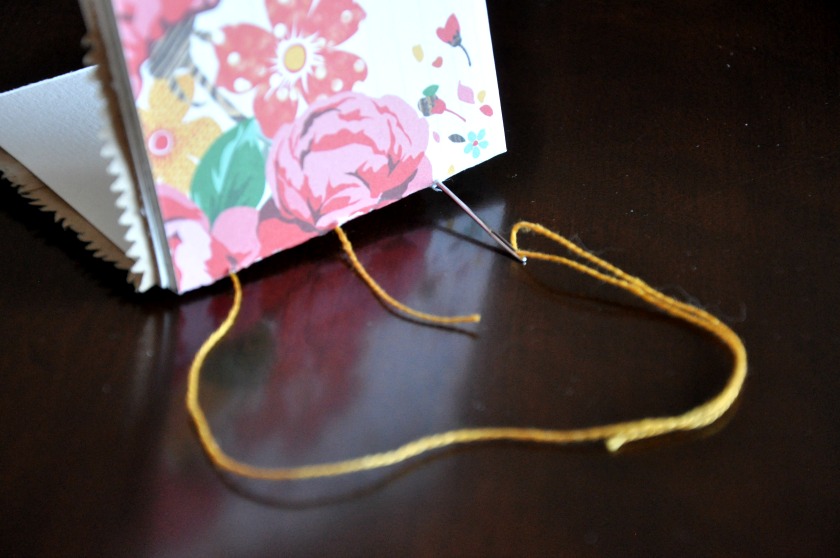
Pull tight so the thread lies close to the spine.
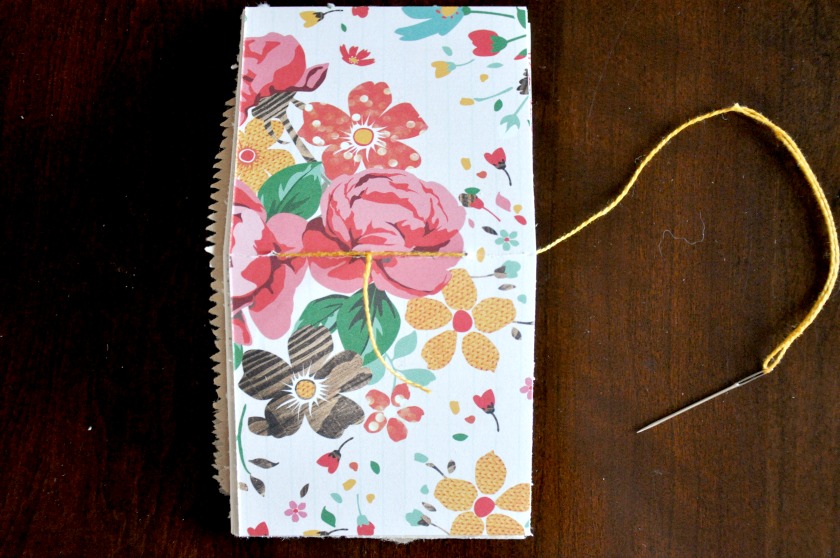
You have just gone through the bottom hole of the booklet. Come back upward and go through the middle hole, from the inside out.

Pull tightly so the inside stitches are straight and in the crease.
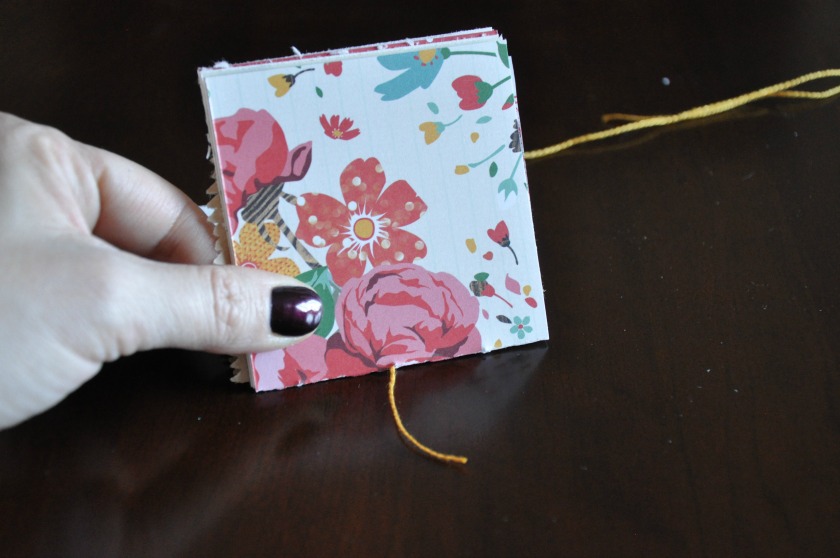
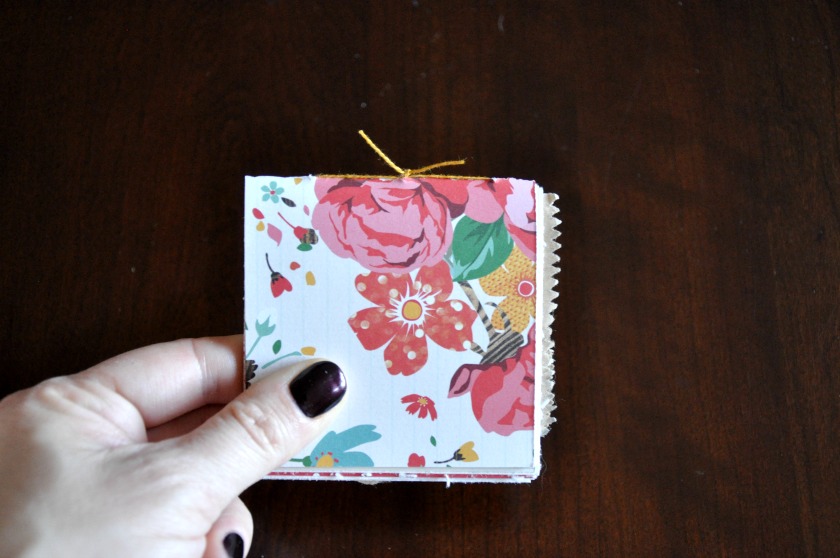
Tie the tail of the thread with the piece that is in the needle. Trim these and you are done!
I love using these scrap paper booklets as a place to test out my new art supplies. The different types of paper make it the perfect place for color swatches as well.
Love and art
Vanessa, Lauren and Caylee